Step 1
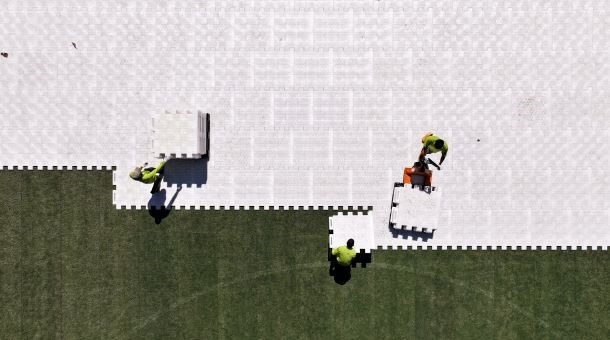
Establish your baseline and starting point. From the first tile, you will build out in three directions — left and right along the baseline, and perpendicular — ensuring a solid foundation for the layout.

Step 2
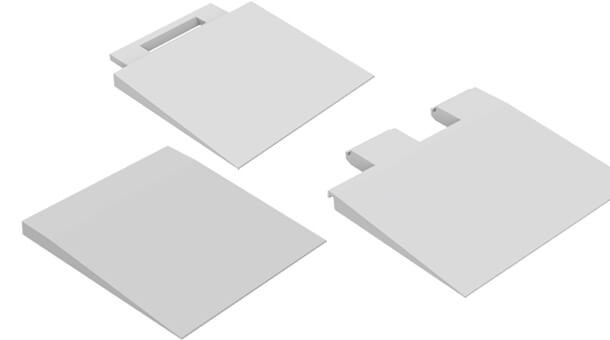
The interlocking teeth effortlessly connect by “dropping and flopping” into place, forming a secure bond from edge to edge without the need for camlocks.

Step 3
Lay it straight or “brick” it — the choice is yours. Bricking creates a sturdier locking system, ideal for heavy-duty weight and traffic.
Step 4
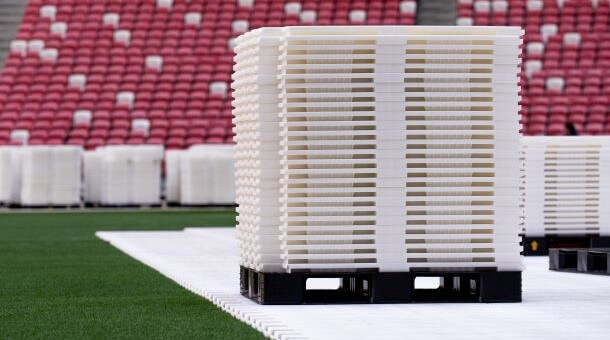
Tearing out is just as easy as laying it down — no camlocks needed! Reverse the installation order, pick up the last tile first, tilt at a 45-degree angle to disengage the clips, then lift and restack for future use.
Step 5
Add Ramps! ADA-compliant ramps ensure smooth, safe transitions for mobility aids, dollies, and carts — making any space more inclusive and accessible.